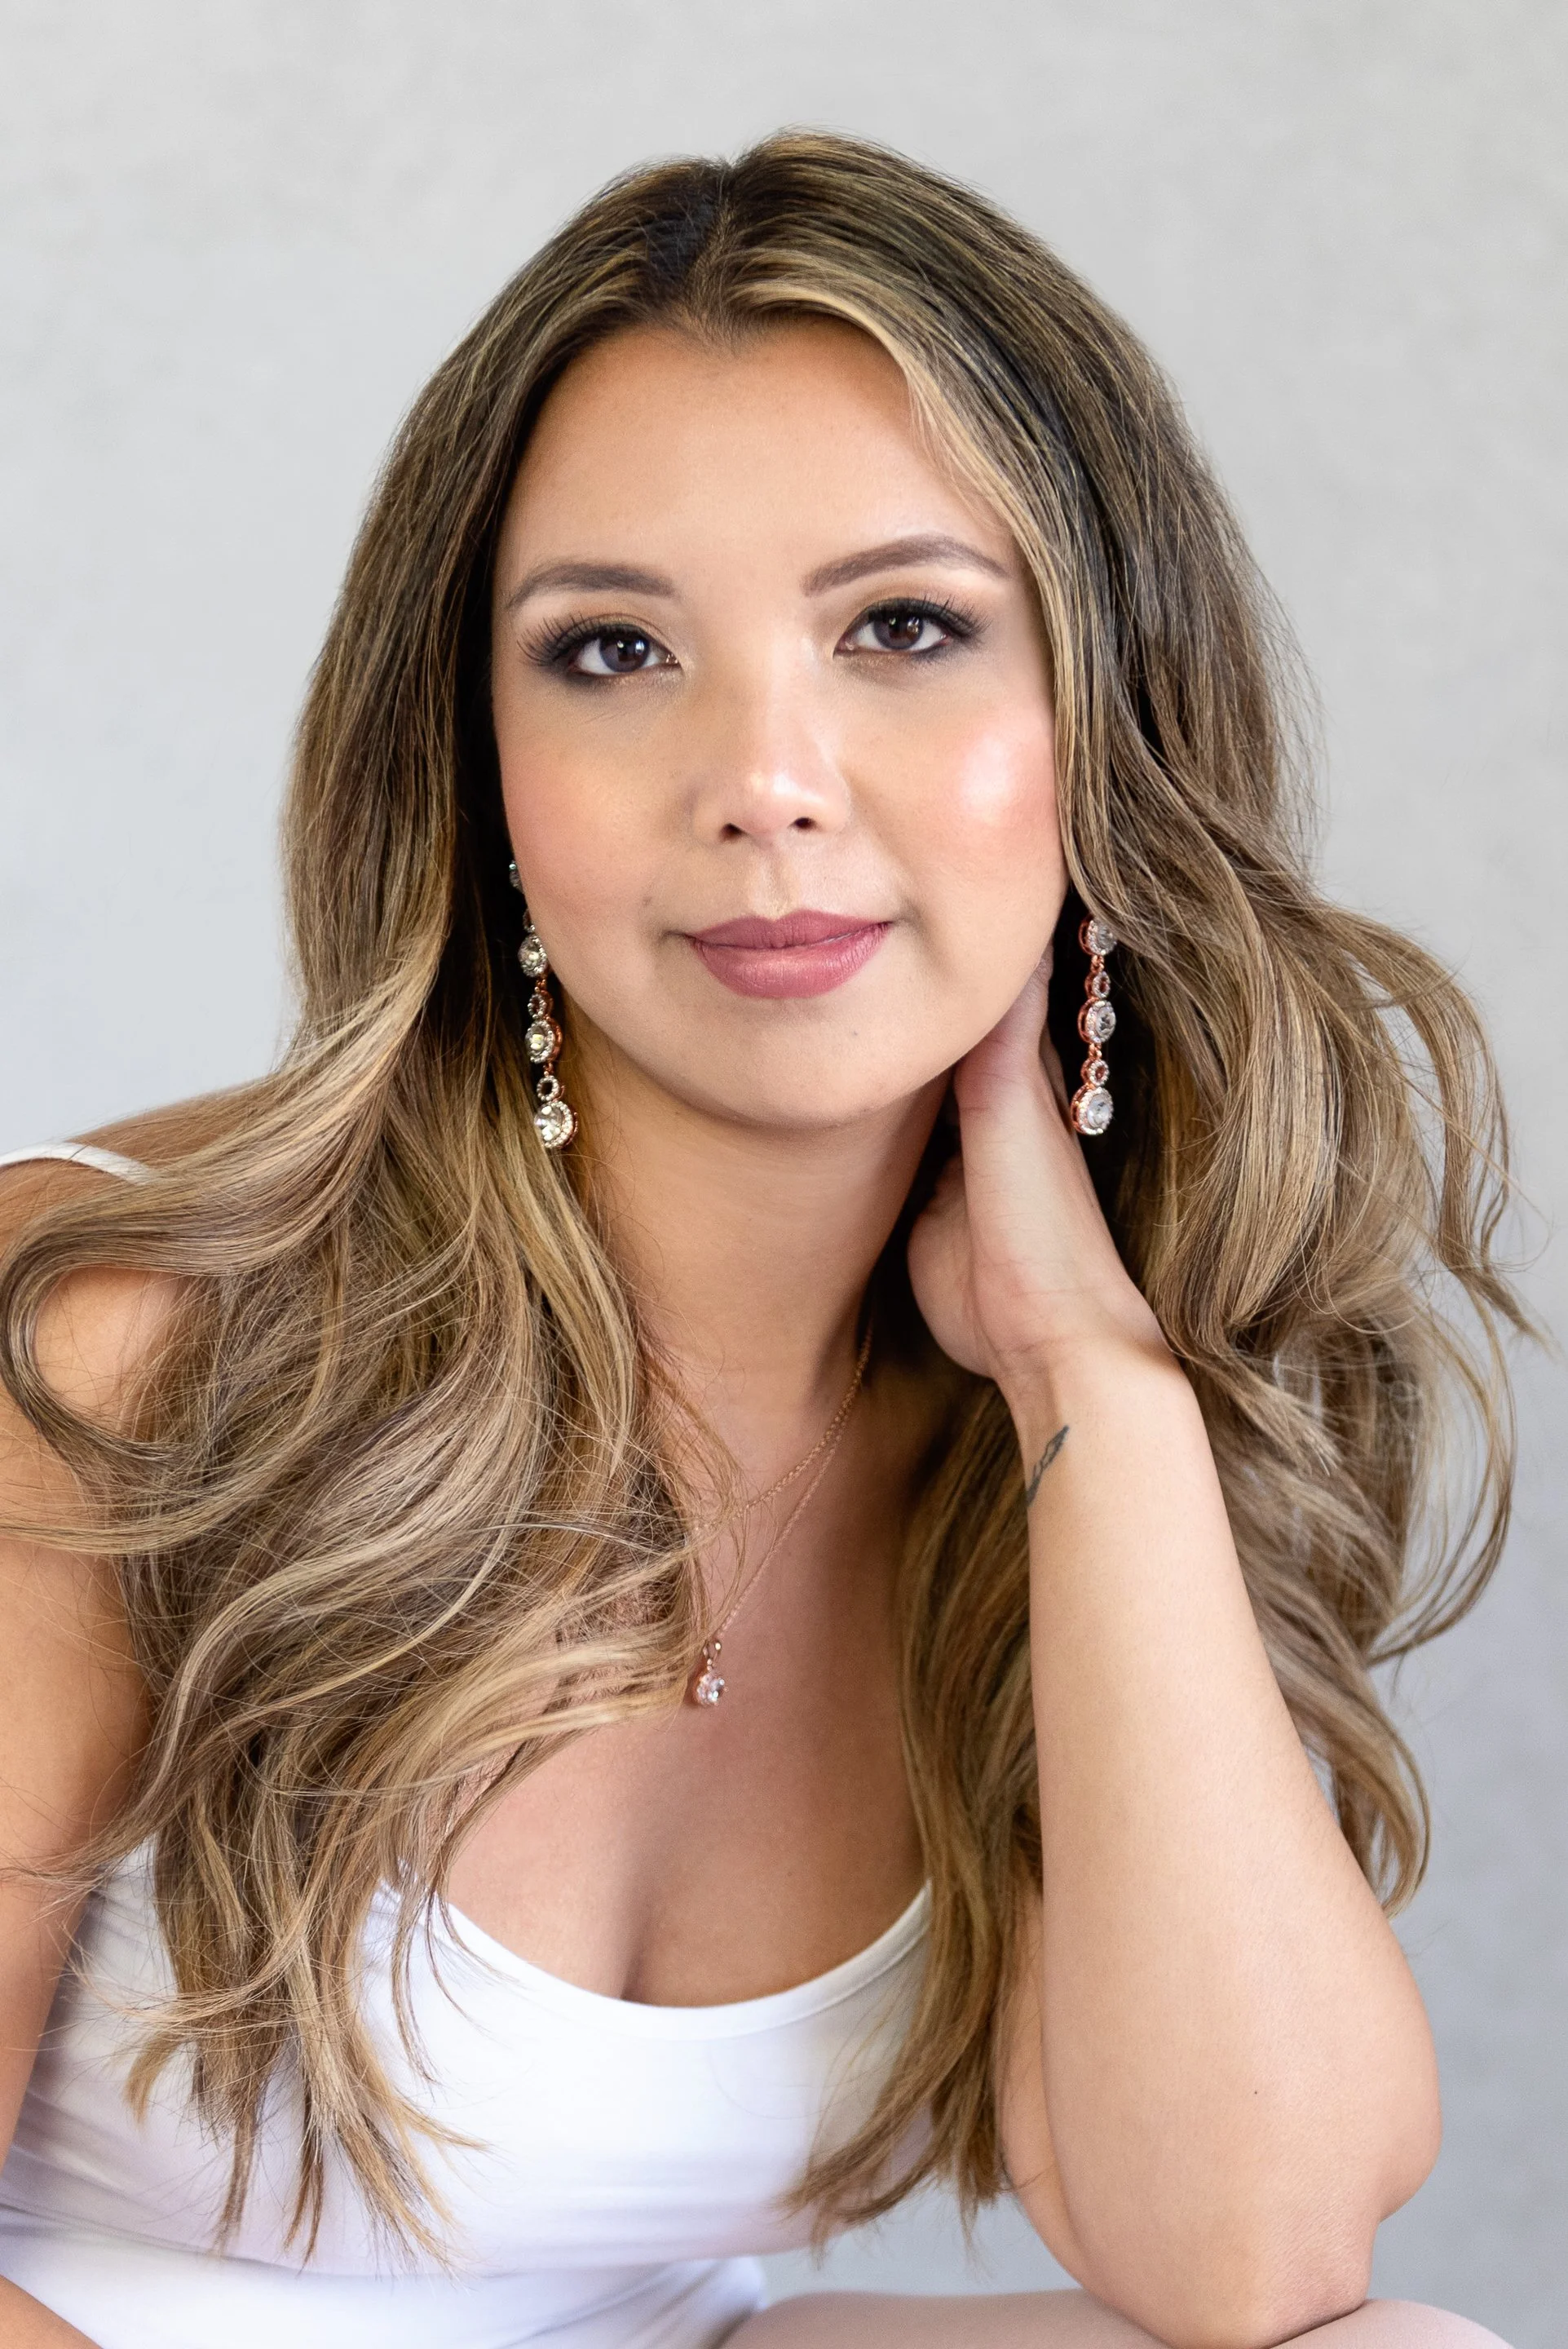
The Camera-Ready Beauty Guide
You don’t need to be a makeup artist to look polished, put-together, and confident, whether you’re heading out for the day, showing up online, or stepping in front of the camera.
The truth is, a few simple tips on how you prep your skin and apply your makeup can make a noticeable difference, not just in photos, but in how you feel every day.
This guide is for women who are comfortable doing their own makeup and want to elevate it just a little, with simple skincare and makeup tips that help you look like yourself, just smoother, brighter, and more refined.
Whether you’re preparing for a photoshoot, taking your own brand photos at home, or just want a more polished everyday look, this will walk you through exactly what to do.
Start Here: Your Skin Is Everything
Let's talk about the part most people skip... and the part that makes the biggest difference.
Your skin.
Makeup can't fix dry, textured, or irritated skin. It only sits on top of it. So if you want that smooth, glowing look in your photos, we start here.
A quick note before we begin: This guide is written for women over 40 with normal to dry, mature skin. That's the skin I have and know best. If your skin is oily, very sensitive, acne-prone, or you have specific concerns like rosacea, the principles here still apply, but the products I recommend may not be the right fit for you. If that's you, send me a note and I'll point you in a better direction.
Why Korean Skincare?
After years of trying different products, Korean skincare is what is working now for my mature, normal-to-dry skin. The formulas are gentle, deeply hydrating, and focused on strengthening the skin barrier rather than stripping it. For women over 40, that approach makes a real difference.
Skin Prep Timeline (What to Do Before Your Photos)
You can absolutely use your own skincare products for this. Just focus on gentle, hydrating formulas your skin already knows and loves.
If you'd like guidance, I've included the Korean skincare products I personally use throughout. You'll find all of them at Olive Young Global. Use my code MORTPHOTO26 at checkout for 5% off.
3–5 Days Before Your Photos
This is where you gently prep your skin.
Exfoliate 1 - 2 times during the week week (gently—not aggressively)
Drink more water than usual
Avoid trying brand new products
Do any light brow grooming
A gentle exfoliating toner is enough to smooth texture without irritating your skin. I use Beauty of Joseon Green Plum Refreshing Toner once a week on Sunday nights. It's an AHA/BHA exfoliator that's gentle enough for mature skin.
Think: soft, smooth, hydrated skin. Not irritated or overworked.
The Night Before
Think: calm, hydrated, nourished.
Cleanse your skin well
Apply a hydrating toner. I use Beauty of Joseon Glow Replenishing Rice Milk
Apply a hydrating serum. I use SKIN1004 Madagascar Centella Ampoulefor its calming, barrier-repair properties
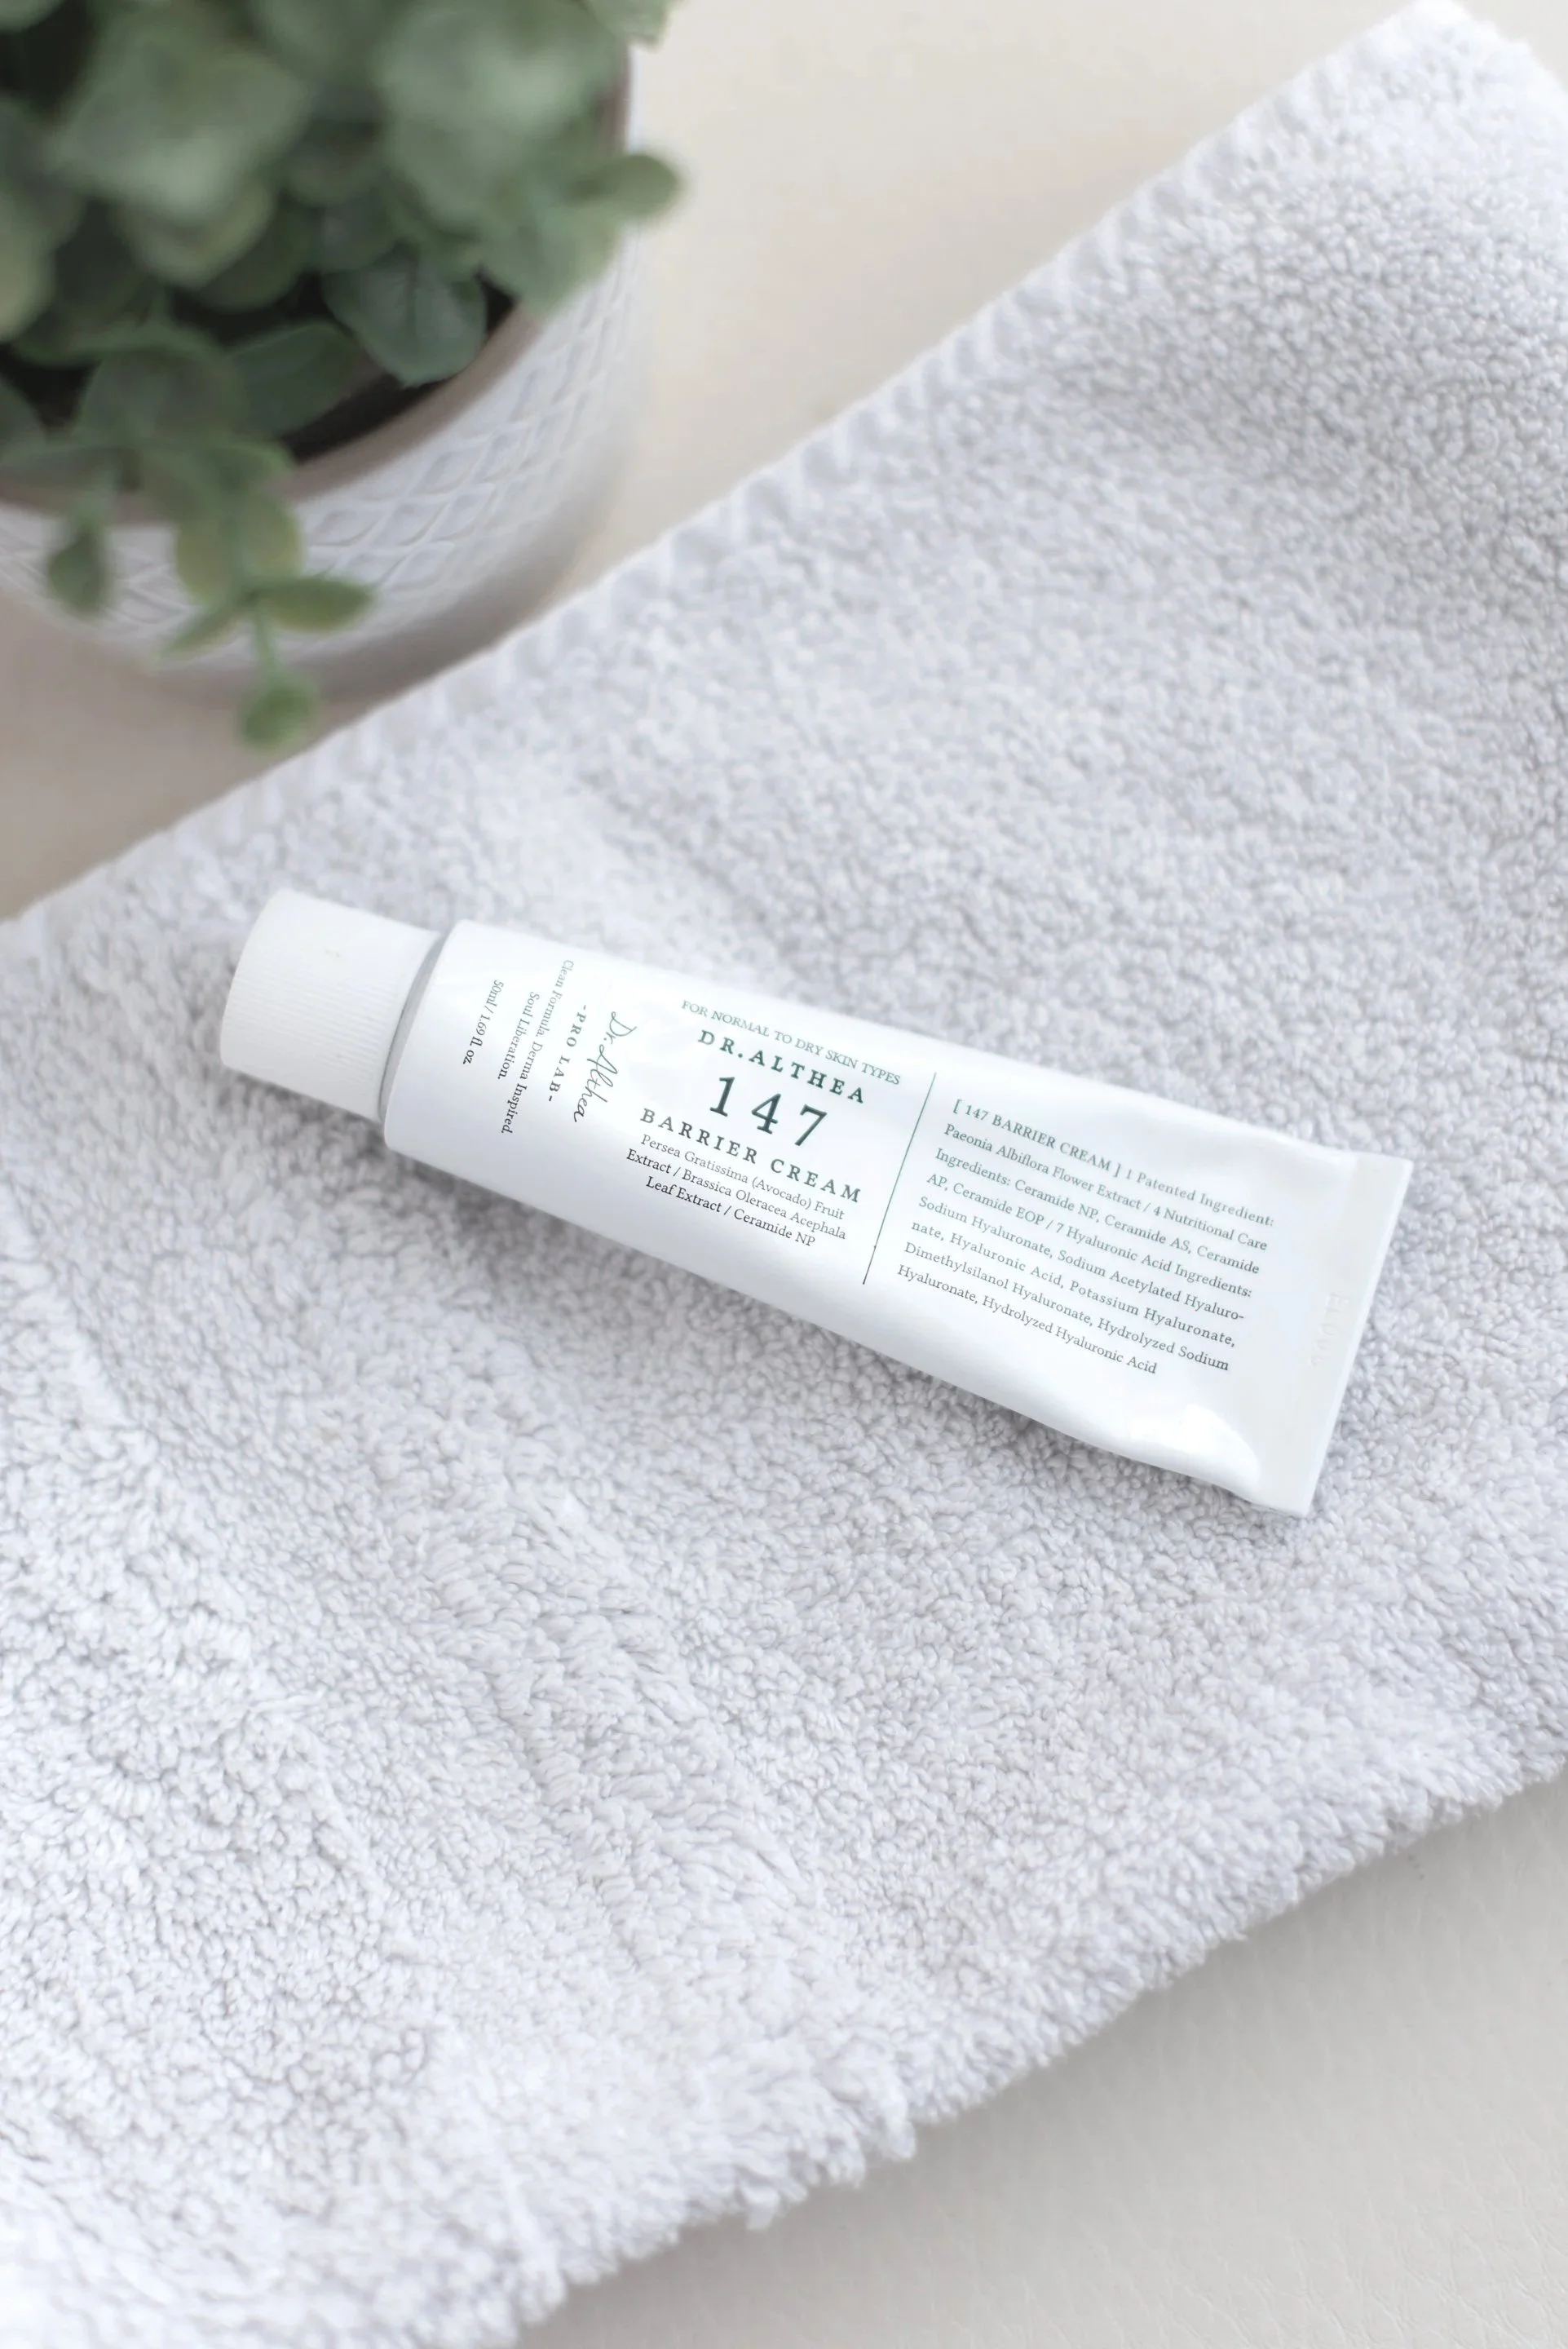
Apply a nourishing moisturizer. I use Dr. Althea 147 Barrier Cream
That's it. No experimenting. No overdoing it.
Keeping your routine simple the night before helps avoid unexpected reactions and ensures your skin looks its best the next day.
The Morning of Your Shoot
Keep your skin fresh and hydrated, not heavy or greasy.
Cleanse your skin
Apply your Beauty of Joseon Glow Replenishing Rice Milk toner
Use a light layer of Dr. Althea 147 Barrier Cream
Add an eye cream if you use one (this helps your concealer sit beautifully)
Your goal here is smooth, hydrated skin that makeup can sit on evenly.
Important Tip
I usually recommend avoiding SPF on the day of your photoshoot, but if you do use it, avoid heavy formulas with zinc or titanium as they can sometimes create a white cast in certain lighting.
Don't forget to use code MORTPHOTO26 at checkout for 5% off your order.
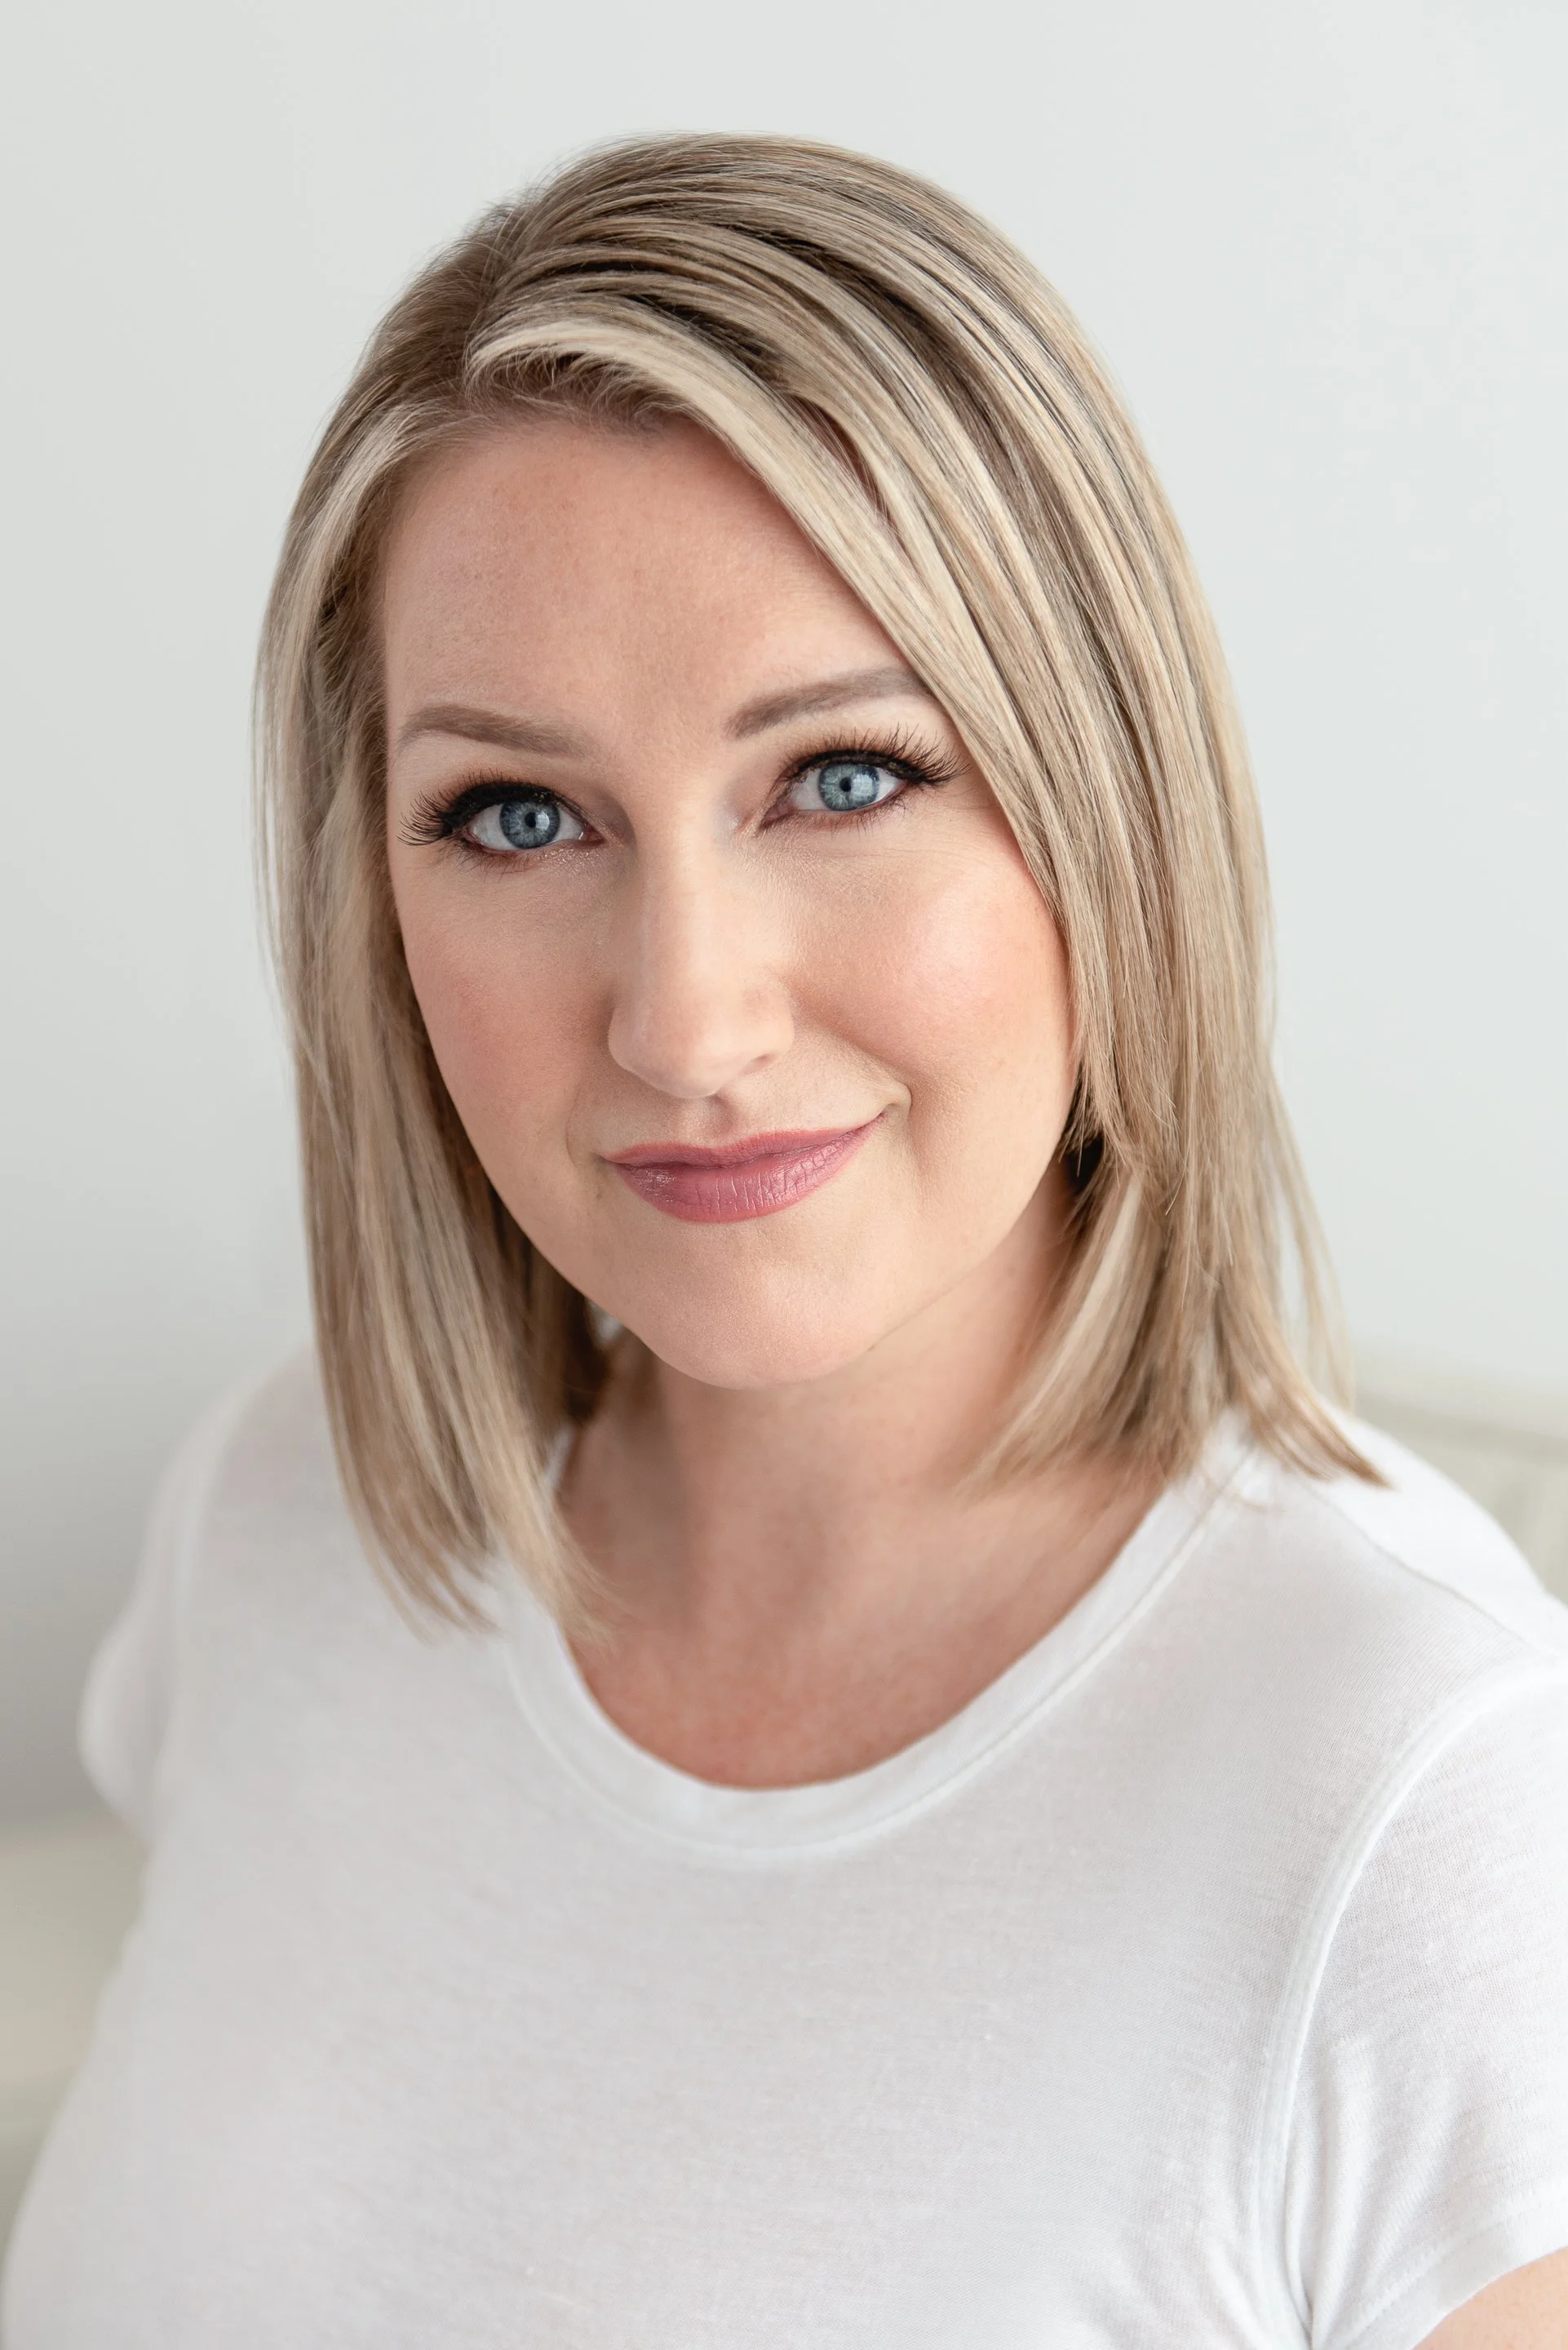


Now Let’s Talk Makeup
Even if you’re great at your everyday makeup, camera-friendly makeup is a little different.
The goal isn’t heavier makeup…it’s balanced, even, and defined.
Step 1: Even Out Your Skin
This is the most important step. Period.
Even if your skin is already quite good, the camera picks up uneven tone more than the eye does.
Foundation
Use an actual foundation - not a tinted moisturizer or BB cream. Choose one with medium coverage.
Make sure it matches your skin tone exactly
Blend well with a brush or sponge
Concealer
Apply concealer under eyes and on any blemishes
Blend thoroughly
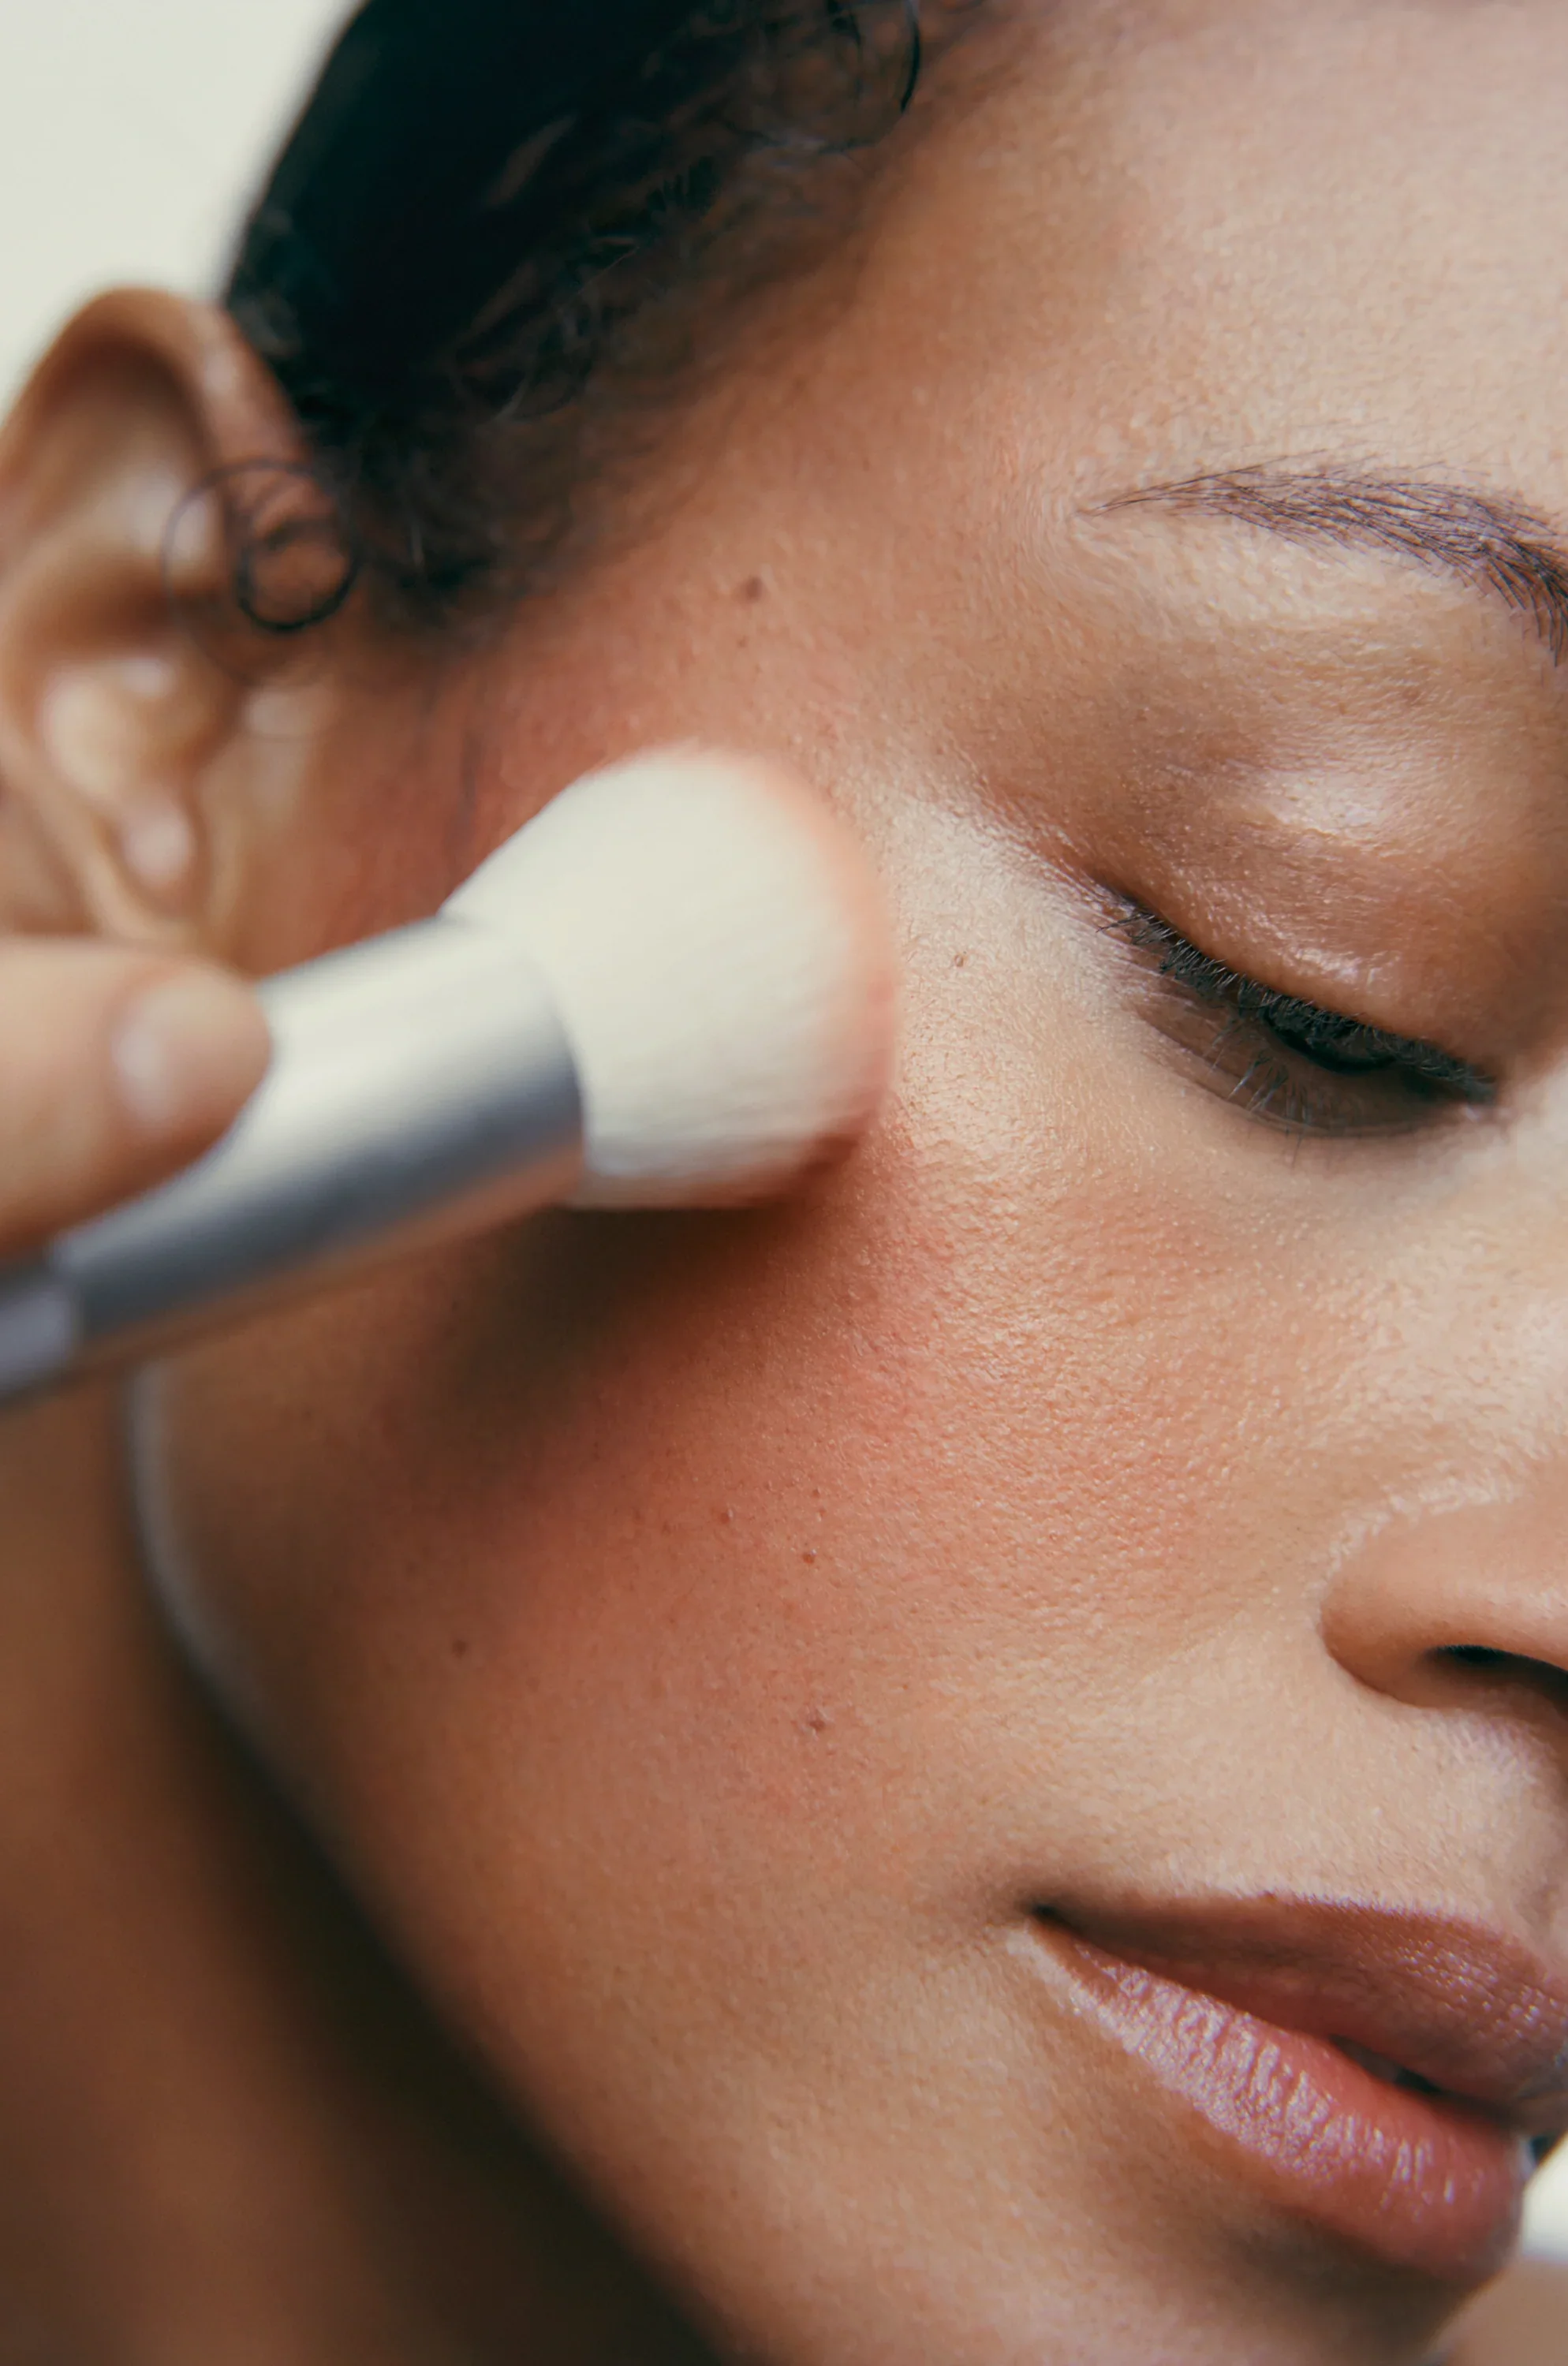
Set Your Makeup
Use a translucent powder to reduce shine
Focus on the T-zone
What to Avoid
Heavy contouring
Bronzer (it can look muddy in photos)
Step 2: Define Your Eyes
Without definition, your eyes can disappear in natural light.
Eyeshadow
When choosing eyeshadow, matte shades are best, but a little shimmer is ok. Avoid sparkles because it shows up as white specks in photos.
Choose soft, neutral tones:
Blue eyes → browns
Brown eyes → plums or grays
Green/hazel → browns
Simple is best:
Light shade across the lid
Slightly darker shade in the crease
Blend well
Eyeliner
This step matters more than you think.
Apply along the top lash line
Stay close to the lashes
Keep the bottom soft (or skip it - I do)
If you don’t own eyeliner, use a thin eyeshadow brush and apply a dark eyeshadow along the top lash line.
Brow Gel
Tame and shape your eyebrows with a clear or tinted brow gel.
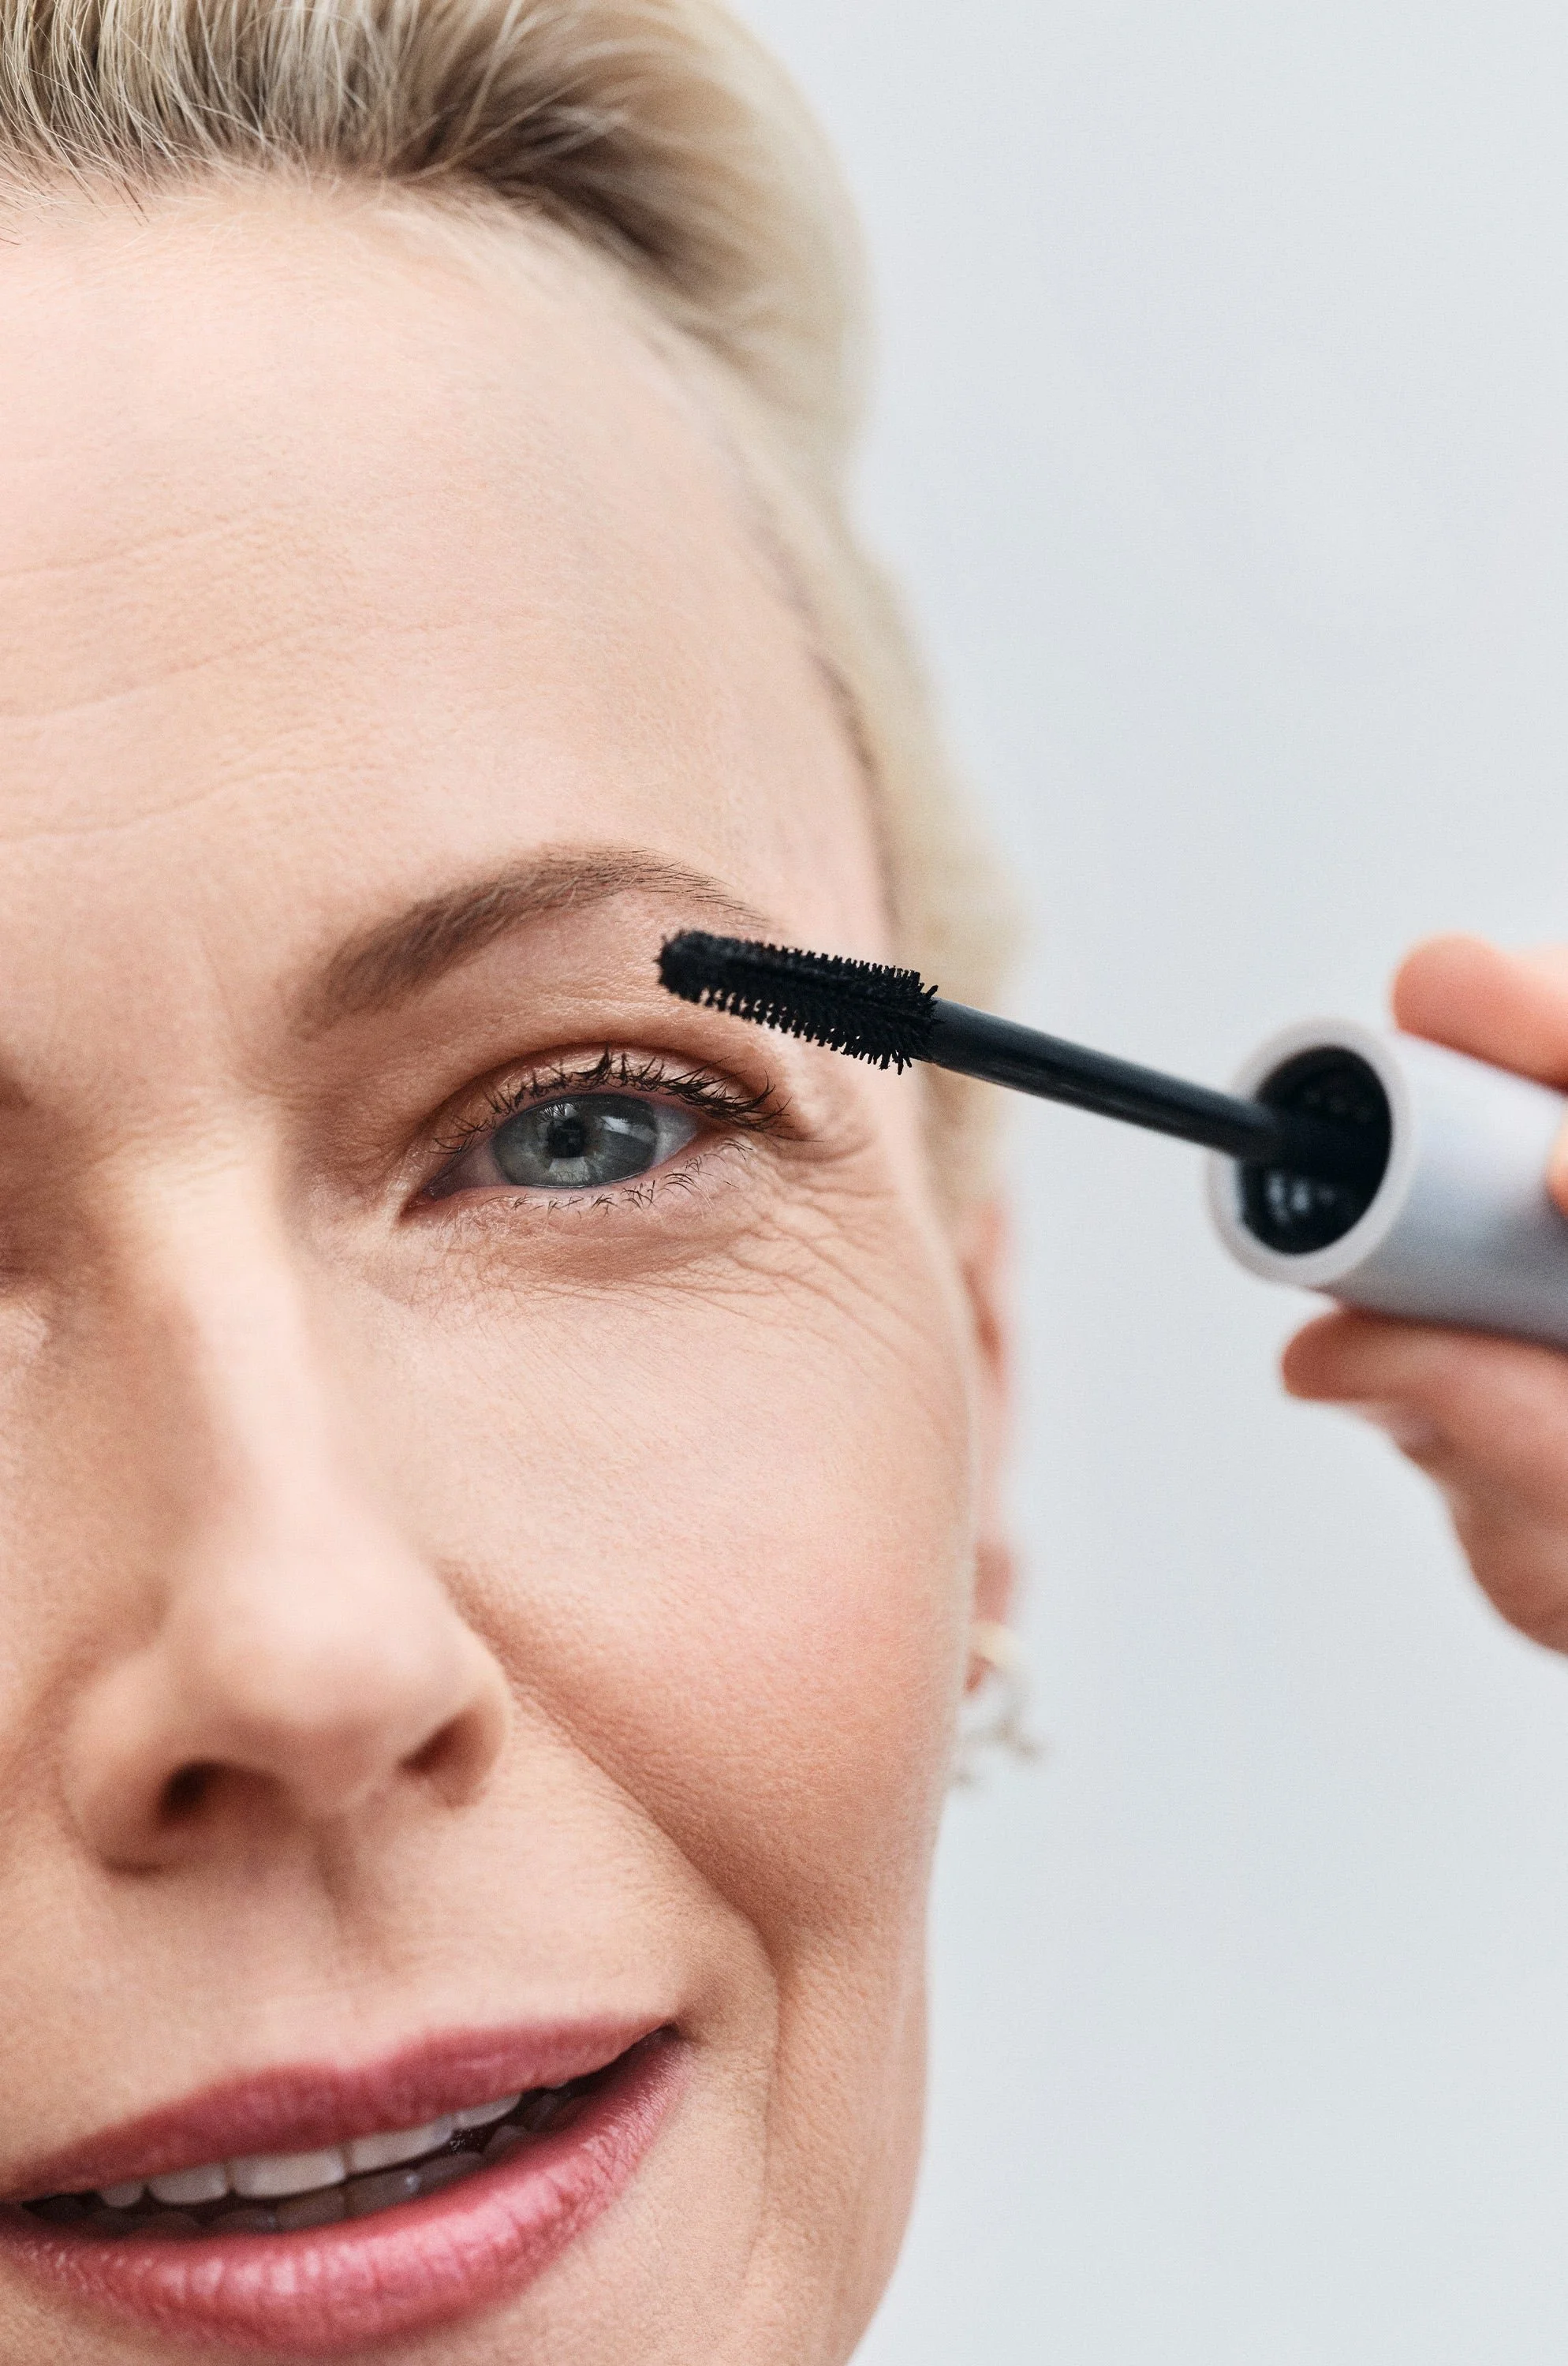
Mascara
Don’t be shy with mascara! This brings your eyes to life on camera.
Optional: False Lashes
If you like them:
Keep them subtle
Cut them in half and apply to the outer corner
Step 3: Add Color Back Into Your Face
This is what keeps you from looking washed out and gives you a natural, healthy glow.
Cheeks
Blush can be either powder or cream formula
Use a soft pink or apricot tone that complements your skin and outfit
Apply lightly to the apples of your cheeks
Avoid anything with shimmer or sparkles, as it can show up as white dots in photos.
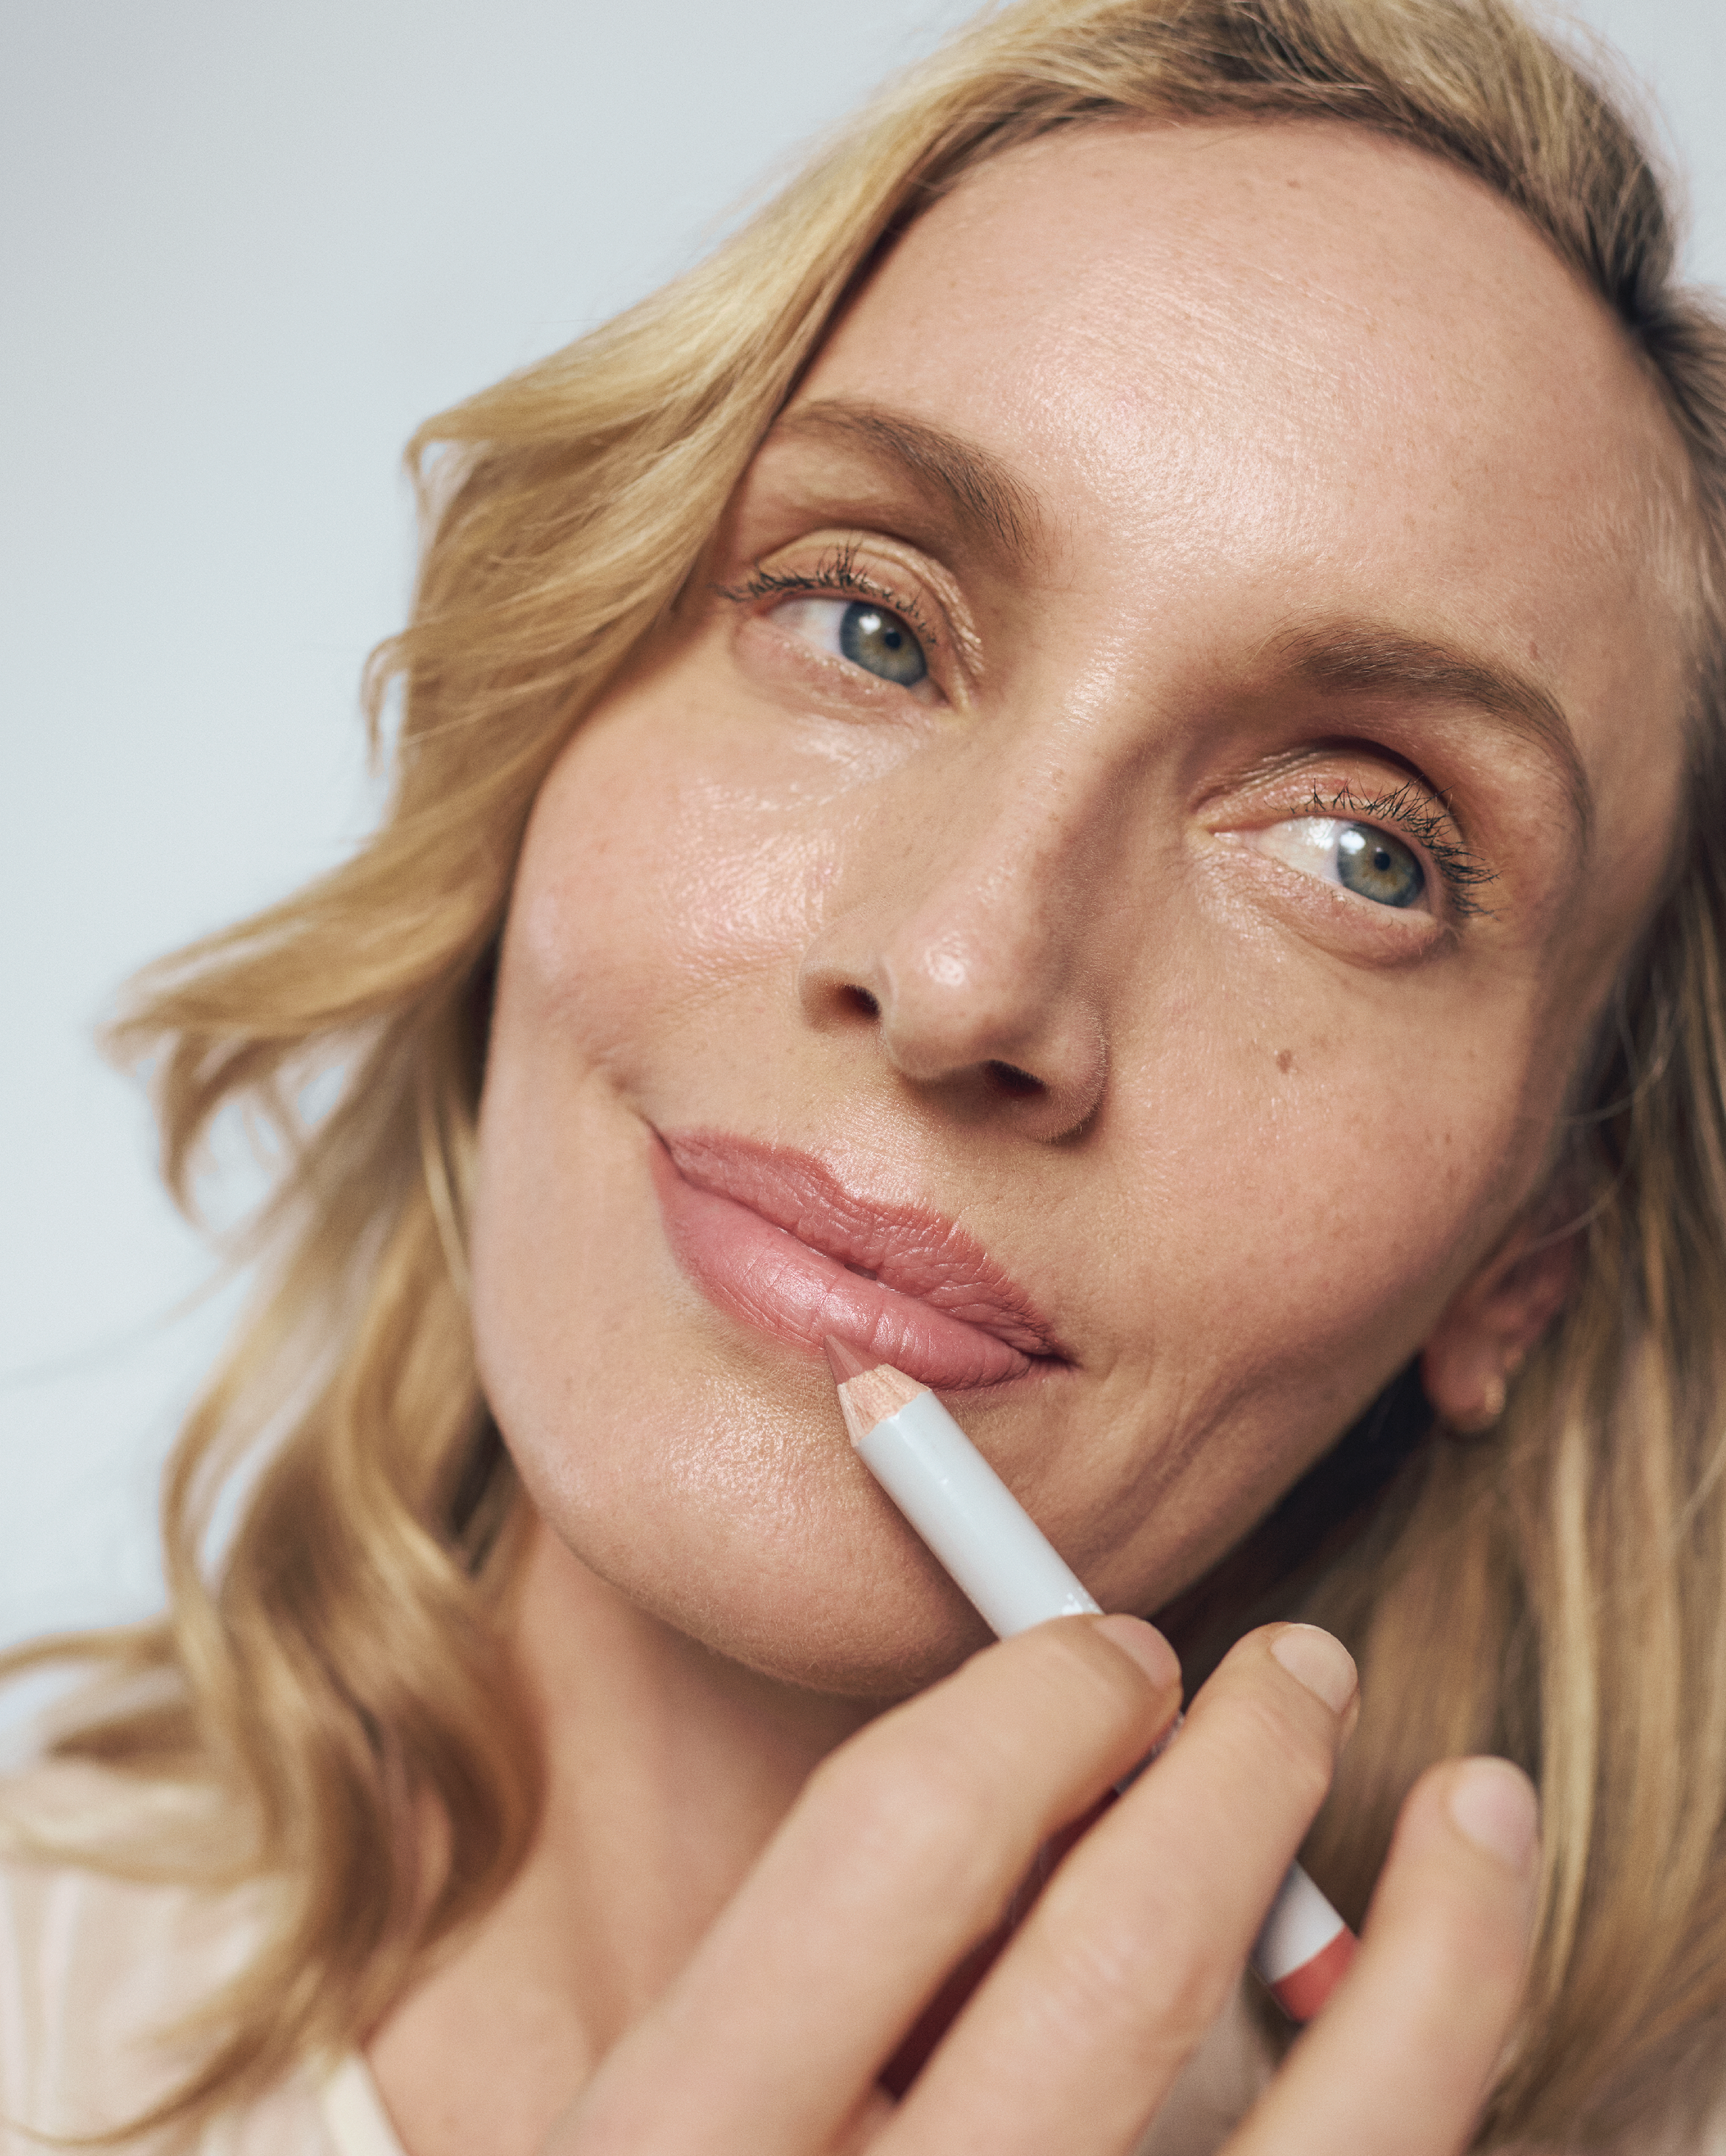
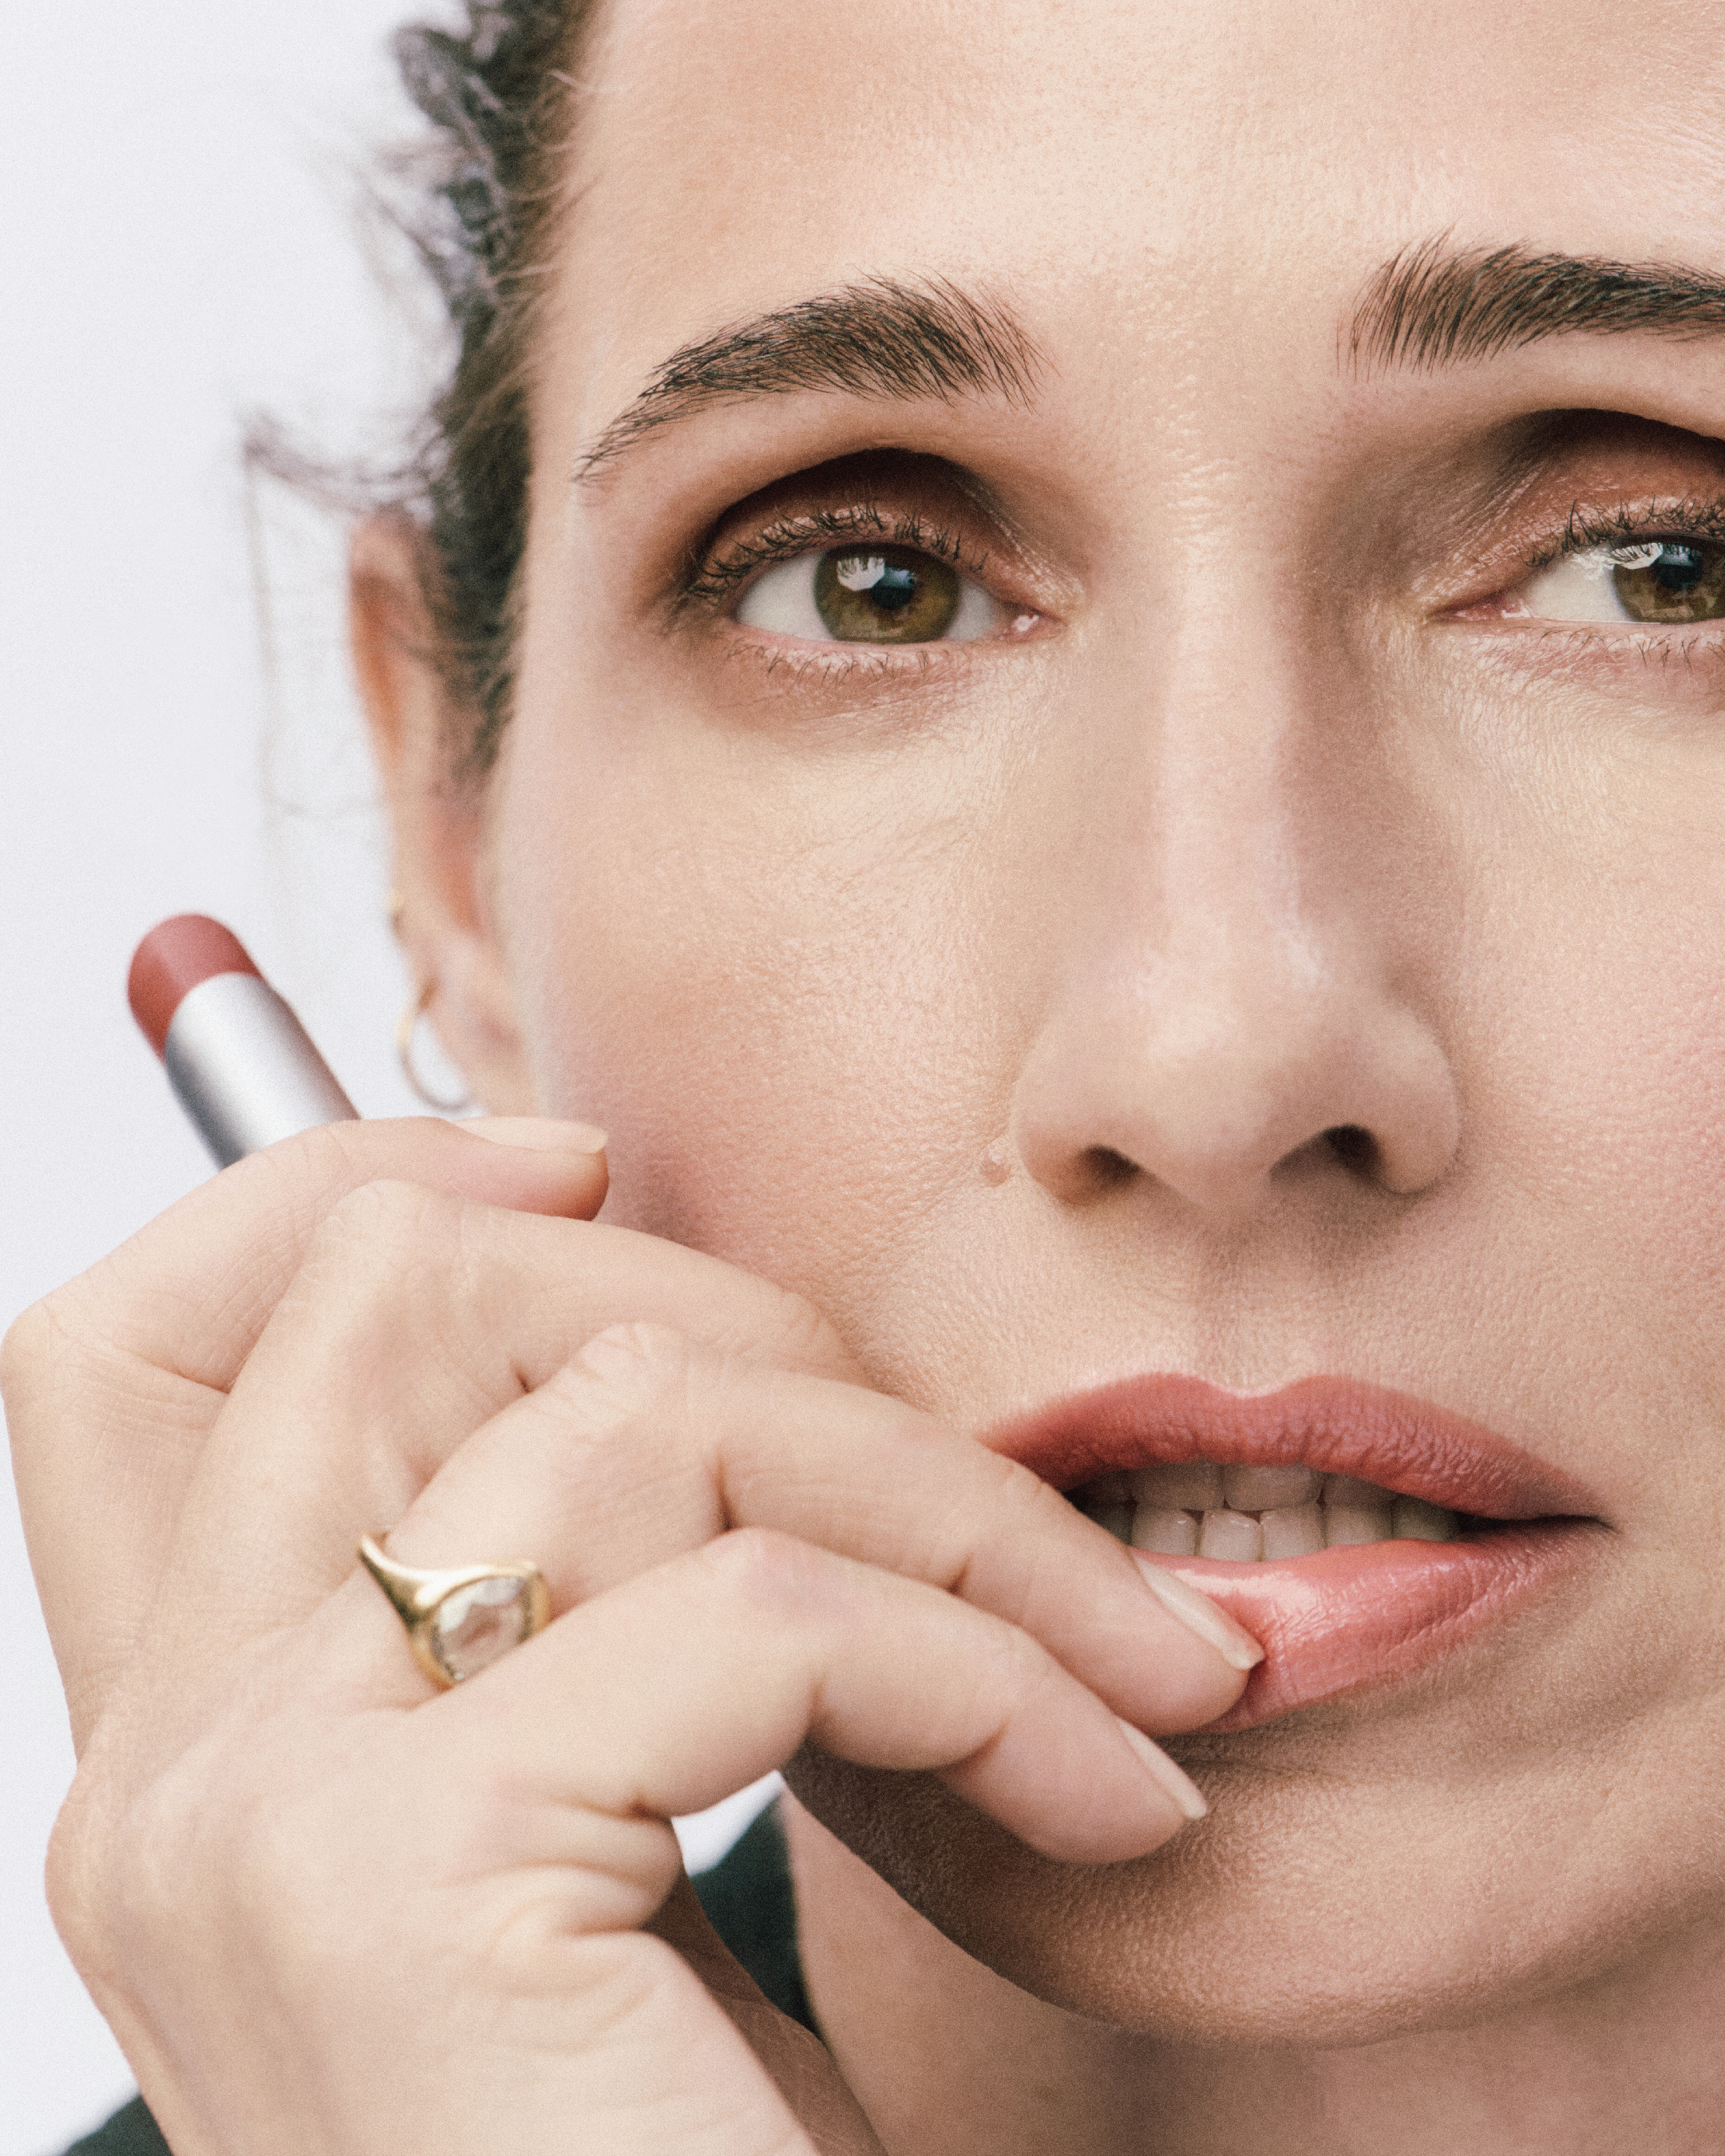
Lips
Choose a lip color that complements your skin, and outfit. I like to pick one that is similar to my blush.
Avoid nude shades (they can wash you out)
Skip shimmers or mettalics
Add a touch of gloss or balm for moisture and dimension.
Bring for Touch-Ups
Always bring:
Lipstick
Lip balm (Trust me—you’ll need it.)
If You’re Taking Your Own Photos at Home
These same rules apply, but here are a few extra tips:
Make sure your foundation and concealer are well blended, and don’t forget to go down your neck a bit
Add slightly more blush and lip color than you think you need
When taking your photo, sit facing a window for natural light. You can apply your makeup in front of the window as well. This will help you avoid applying too much, and give you a good idea of how you’ll look in the photos.
Keep your background simple
Final Thoughts
You don’t need to be a professional makeup artist to look amazing in photos.
You just need to focus on a few key things:
Smooth, hydrated skin
Even complexion
Defined eyes
Natural, balanced color
And if you aren’t confident applying your own makeup or if you want a completely effortless experience, having your makeup professionally done really does take everything up a level. Ask me about booking my professional makeup artist.